
Outdated drivers are one of the most common causes of crashes, audio glitches, and even security vulnerabilities in Windows 11. Whether you’re a home user or an IT administrator managing dozens of machines, knowing how to update drivers in Windows 11 correctly can mean the difference between a stable system and hours of troubleshooting.
In this guide, we’ll walk through safe, reliable methods — from Windows Update and Device Manager to manufacturer tools — while avoiding risky “driver updater” software. Follow along to keep your PCs secure, fast, and fully compatible.
Introduction
Device drivers are the software bridge between Windows 11 and the physical hardware inside or attached to your computer. Graphics cards, network adapters, audio chips, printers, storage controllers, and chipset components all rely on drivers to function. When a driver is outdated, corrupted, or mismatched to your system, you may experience anything from a flickering screen or dropped Wi-Fi connection to full system instability and blue screen errors.
This guide covers How to Update Drivers in Windows 11 Safely and Correctly in practical, step-by-step detail. It is written for two audiences: beginners who want a reliable, low-risk method, and IT administrators who need repeatable, verifiable procedures they can apply across fleets of machines. The core principle throughout is simple: update drivers deliberately, verify compatibility first, and always keep a rollback path open.
Windows 11 changes the driver landscape in meaningful ways. The operating system now enforces stricter driver signing requirements, uses the Windows Update pipeline more aggressively for driver delivery, and supports both x86-64 and ARM64 architectures. A driver package built for x86 will not install on an ARM64 device, and vice versa. Always verify software compatibility with your hardware architecture (ARM64 vs x86) before downloading anything. Likewise, keeping your operating system updated before installation prevents dependency conflicts, because many drivers assume a minimum Windows build level for their frameworks and runtime libraries.
There are three broad approaches to driver updates, and each fits a different scenario:
- Windows Update: The safest and simplest path. Microsoft validates driver packages for stability and signs them. Best for beginners and general-purpose machines.
- Manufacturer website or vendor utility: Often provides newer drivers than Windows Update, plus control panels and tuning features. Best for GPU, chipset, and laptop-specific hardware.
- Device Manager manual update: Lets you point Windows at a specific INF file or browse a local driver store. Best for targeted fixes and administrative control.
What you should avoid is the practice of blindly running third-party “driver updater” tools that scan your system and install whatever they find. These utilities frequently bundle adware, install generic or incorrect drivers, and remove your ability to audit what changed. The methods in this guide keep you in control.
Prerequisites
Before touching any driver, confirm the following items are in place. Skipping this stage is the most common cause of failed installs and unbootable systems.
- Administrator rights: Driver installation requires an account in the local Administrators group. Standard users will be blocked by User Account Control.
- Windows 11 build information: Press Windows + R, type
winver, and note the version and build number. Drivers may specify a minimum build. - Hardware architecture: Open Settings > System > About and check “System type.” It will read either “64-bit operating system, x64-based processor” or “64-bit operating system, ARM-based processor.” This determines which driver package you download.
- Exact hardware model and device IDs: For laptops, note the full model number. For internal components, open Device Manager, right-click the device, choose Properties > Details, and select “Hardware Ids.” Copy the VEN and DEV strings.
- A current backup: Create a System Restore point, and for critical machines, a full image backup. Driver problems can prevent boot, and a restore point is your fastest recovery route.
- BitLocker recovery key: If your system drive is encrypted, have the recovery key available. Firmware and storage driver changes can trigger a recovery prompt.
- Stable power: Connect laptops to AC power. A battery drop mid-installation can corrupt a driver store entry.
For IT administrators, also confirm that your deployment tooling (Intune, Configuration Manager, PDQ, or a scripted approach) supports the driver package format you intend to distribute, and that your test ring includes at least one machine of each hardware model and architecture in production.
Preparation
Preparation separates a routine update from an outage. Work through these tasks before downloading a single driver.
First, update Windows itself. Go to Settings > Windows Update and install all pending cumulative updates. As noted earlier, keeping your operating system updated before installation prevents dependency conflicts, because driver installers often rely on servicing stack and runtime components delivered through Windows Update.
Second, create your restore point. Search for “Create a restore point” in the Start menu, select your system drive, click Create, and give it a descriptive name such as “Before GPU driver update 2025-06.” This takes less than a minute and has saved countless machines.
Third, inventory your current drivers so you can compare afterward. Open Device Manager and expand each category. You can also run pnputil /enum-drivers from an elevated Command Prompt to list all third-party driver packages in the driver store, including their published names and versions. Save this output to a text file.
Fourth, download your new drivers from the correct source. Prioritize in this order:
- The PC or motherboard manufacturer’s support page for your exact model.
- The chip or component vendor (Intel, AMD, NVIDIA, Qualcomm, Realtek) if the OEM page is stale.
- Windows Update, if neither of the above offers a newer signed package.
Fifth, decide on your installation order. For a full refresh, the conventional sequence is chipset first, then storage and network, then graphics, audio, and peripherals. Chipset drivers establish the correct communication paths for everything else.
Sixth, disable interference temporarily. Close overclocking utilities, RGB control software, and antivirus real-time scanning if it blocks driver installers. Do not disable Windows Defender permanently; simply allow the installer when prompted.
Installation Steps
Step 1: Review prerequisites and compatibility
Reconfirm your architecture and Windows build against the driver package’s system requirements. Check the vendor’s release notes for known issues, required minimum Windows build, and whether the package is a full installer or an INF-only bundle. Verify the download’s digital signature by right-clicking the file, choosing Properties > Digital Signatures, and confirming the signer is the expected vendor. On ARM64 devices, never force an x64 driver; it will fail or destabilize the system.
Step 2: Prepare the environment
Ensure you are on AC power, your restore point exists, and no other installations are running. Pause Windows Update during the process to prevent it from installing a competing driver mid-procedure. If you are working remotely, confirm you have an out-of-band path to the machine, such as IPMI, a KVM, or physical access, in case the network driver is being replaced.
Step 3: Configure core settings
Open Device Manager as administrator. Locate the target device and right-click it. For a clean install, first review the current driver version under Properties > Driver so you can confirm the update later. If you plan to use a vendor installer, no further configuration is needed. If you plan a manual INF install, click Update driver > Browse my computer for drivers > Let me pick from a list of available drivers on my computer, and use Have Disk to point at the extracted INF file. For administrators, you can instead pre-stage the package with pnputil /add-driver package.inf /install.
Step 4: Run the main installation procedure
Launch the vendor installer and accept the User Account Control prompt. Choose “Custom” or “Advanced” installation rather than “Express” so you can deselect bundled utilities you do not want. Allow the installer to complete without interruption; the screen may flicker or go black briefly during graphics driver installation, which is normal. If you are updating via Device Manager, the install is silent and typically finishes in under a minute. Do not force-restart during this stage unless the installer explicitly requests it.
Step 5: Verify the installation
Return to Device Manager and confirm the device shows no warning triangle. Right-click the device, open Properties > Driver, and check that the driver version and date match the package you installed. Run pnputil /enum-drivers again and compare against your saved inventory. For graphics drivers, open the vendor control panel and confirm it reports the new version. Check Event Viewer under Windows Logs > System for any driver-related errors in the last few minutes.
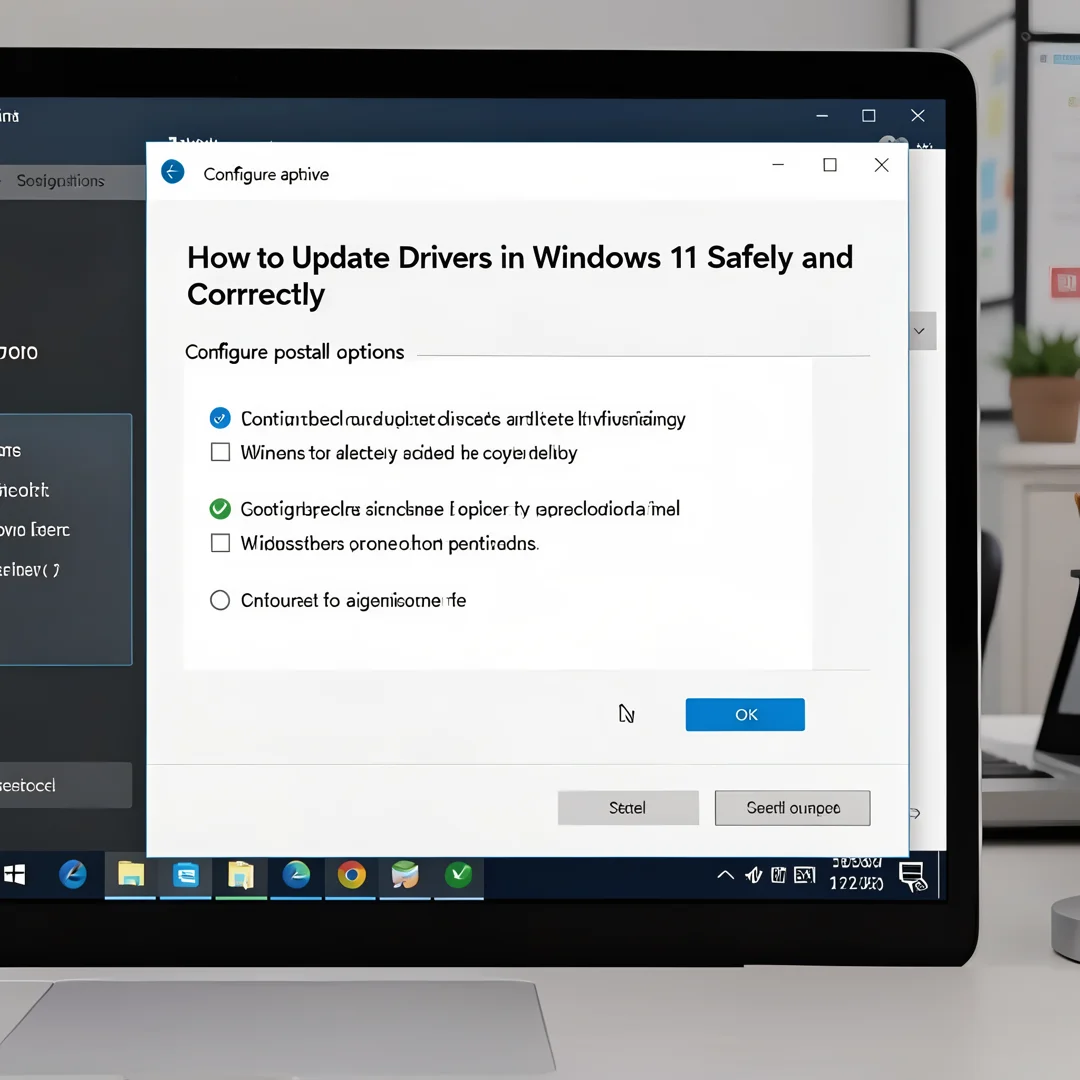
Step 6: Configure post-install options
Set any vendor-specific preferences, such as power management profiles, refresh rate, or audio output format. If the driver added a background service, verify it is running and set its startup type appropriately. Re-enable any antivirus or utilities you disabled earlier. Reboot once to confirm the driver loads cleanly from a cold start, then re-check Device Manager for errors after the reboot.
Post-Installation
After a successful reboot, run a short validation pass. Confirm that the specific symptom you were fixing is resolved, whether that was display artifacts, dropped connections, or failed print jobs. Run sfc /scannow and DISM /Online /Cleanup-Image /RestoreHealth from an elevated prompt to check system file integrity, since some installers touch shared components.
Update your documentation. Record the device name, old version, new version, source URL, and date in your asset or change log. Administrators should capture the same data centrally so that a newly discovered regression can be traced to a specific rollout.
Monitor for 24 to 48 hours. Watch for unexpected reboots, performance regressions, or event log noise. If everything is stable, plan to push the same package to the rest of your fleet in controlled waves.
Finally, clean up. Remove downloaded installers you no longer need, and clear old restore points only after you are confident the new driver is stable. Keep at least one recent known-good restore point at all times.
Troubleshooting
Most driver issues fall into a handful of categories. Use the following guidance to diagnose and recover.
The installer fails or rolls back. Check that you downloaded the package for the correct architecture (ARM64 vs x86) and Windows build. Temporarily disable antivirus real-time protection and retry. Run the installer as administrator, and consult the vendor’s installation log, usually found in %Temp% or C:\Windows\INF.
The device shows a yellow warning icon. Open Properties > General and read the error code. Code 10 or 43 often means a corrupted or conflicting driver. Uninstall the device, check “Delete the driver software for this device,” reboot, and reinstall fresh.
You now have a complete workflow for How to Update Drivers in Windows 11 Safely and Correctly. Keep your system updated, monitor resource usage, and revisit this guide when software versions change.
Next steps: harden your server firewall, set up automated backups, and explore related tutorials linked above.