
Leftover files, broken registry entries, and stubborn apps that refuse to leave — sound familiar? Whether you’re a beginner cleaning up a personal laptop or an IT administrator managing dozens of endpoints, learning how to uninstall programs completely is the only way to keep Windows 10 and Windows 11 running fast and clutter-free.
In this guide, we’ll walk you through safe, step-by-step methods to remove applications fully, clear out residual data, and avoid common mistakes. From built-in tools to third-party uninstallers, you’ll get practical techniques that work for both home users and enterprise environments.
Introduction
Uninstalling a program on Windows 10 or Windows 11 sounds simple: open Settings, find the app, click Uninstall, and move on. In practice, that basic routine often leaves behind a surprising amount of clutter. Folders remain in Program Files, registry keys linger in the background, scheduled tasks keep running, services stay registered, and cached data continues to occupy disk space. Over months or years, this residue accumulates and can slow down a machine, cause software conflicts, and create confusion when you try to reinstall a program later.
This guide explains How to Uninstall Programs Completely From Windows 10 and Windows 11 in practical, step-by-step detail. It is written for two audiences at once: beginners who want a safe, reliable cleanup method, and IT administrators who need repeatable processes they can apply across a fleet of machines. You will learn the difference between standard uninstallation and true removal, which tools to trust, and how to verify that nothing meaningful was left behind.
A few baseline facts apply throughout. Always verify software compatibility with your hardware architecture, whether that is ARM64 or x86, because leftover mismatched components are a common source of errors during both installation and removal. Keeping your operating system updated before installation or removal prevents dependency conflicts, since modern apps often rely on shared runtimes such as the .NET Framework, Visual C++ redistributables, or WebView2. Finally, understand that some programs are “stubborn” by design—they may ship with their own uninstaller, run background services, or be protected against casual removal.
Whether you are cleaning up a single ASUS Ryzen laptop or managing dozens of workstations, the workflow below scales from a five-minute single-app cleanup to a structured, verified removal process.
Prerequisites
Before you begin removing software, confirm that you have the right access, tools, and information. Skipping this stage is the most common reason a removal attempt fails halfway through and leaves the system in an inconsistent state.
- Administrator rights: Standard user accounts cannot remove machine-wide applications. You need an account in the local Administrators group. For domain-joined machines, confirm your admin credentials are valid and not subject to a just-in-time elevation policy.
- Knowledge of what the program does: Check whether the application is a dependency for something else. Removing a shared runtime, a print driver, or a VPN client can break unrelated workflows.
- Architecture awareness: Confirm whether your device is x86, x64, or ARM64. Windows 11 on ARM devices runs x64 emulation, but native uninstallers and cleanup utilities differ. Always verify software compatibility with your hardware architecture (ARM64 vs x86) before browsing vendor cleanup tools, since some vendors publish separate builds.
- A current backup: At minimum, back up user data and create a System Restore point. For admins, ensure you have an image or configuration baseline.
- Recovery information: Note any license keys, activation codes, or configuration exports you may need to reinstall the software later.
- Tools: Settings app, Control Panel (Programs and Features), Task Manager, and optionally a reputable third-party uninstaller such as Revo Uninstaller, BCUninstaller, or Geek Uninstaller. Admins may also use PowerShell, Windows Package Manager (winget), or enterprise tools like Microsoft Intune.
- Updated OS: Install pending Windows updates first. Keeping your operating system updated before installation and removal prevents dependency conflicts and ensures the uninstaller can access the latest servicing components.
Preparation
Preparation is where a casual uninstall becomes a complete uninstall. Spend a few minutes here to avoid leaving orphaned files, services, and registry entries.
- Inventory installed programs: Open Settings > Apps > Installed apps (Windows 11) or Settings > Apps > Apps & features (Windows 10). Sort by size and install date to spot what is consuming space. Admins can run Get-Package or winget list in PowerShell for a scriptable inventory.
- Record dependencies: Note any apps that share runtimes or drivers with the target program. For example, uninstalling a game platform may remove shared DirectX or Visual C++ components used by other games.
- Close the application and its services: Use Task Manager to end related processes. Stopping services first prevents “file in use” errors. Admins can use Stop-Service and check startup tasks.
- Disable background startup entries: Remove the app from Task Manager > Startup and from the Startup folder so nothing relaunches mid-removal.
- Create a restore point: Search for “Create a restore point” in the Start menu and click Create. This gives you a rollback option if a removal damages something.
- Export settings if needed: Some apps let you export preferences or user profiles. Do this before removal in case you reinstall later.
- Note the vendor’s official removal instructions: Some programs—especially security suites, VPN clients, and enterprise agents—require a dedicated removal tool from the vendor. Using the standard Windows uninstaller alone may leave behind kernel drivers.
Once these steps are complete, you have a controlled environment and a rollback path.
Installation Steps
The headings below follow a clean installation and setup workflow for a Windows 11 machine, using a common real-world scenario: preparing an ASUS Ryzen laptop for a fresh, stable environment. Even though this article focuses on uninstallation, a well-executed install-and-configure sequence produces a system where complete removal later is far easier, because you know exactly what was added and in what order.
Step 1: Verify system requirements on your ASUS Ryzen laptop
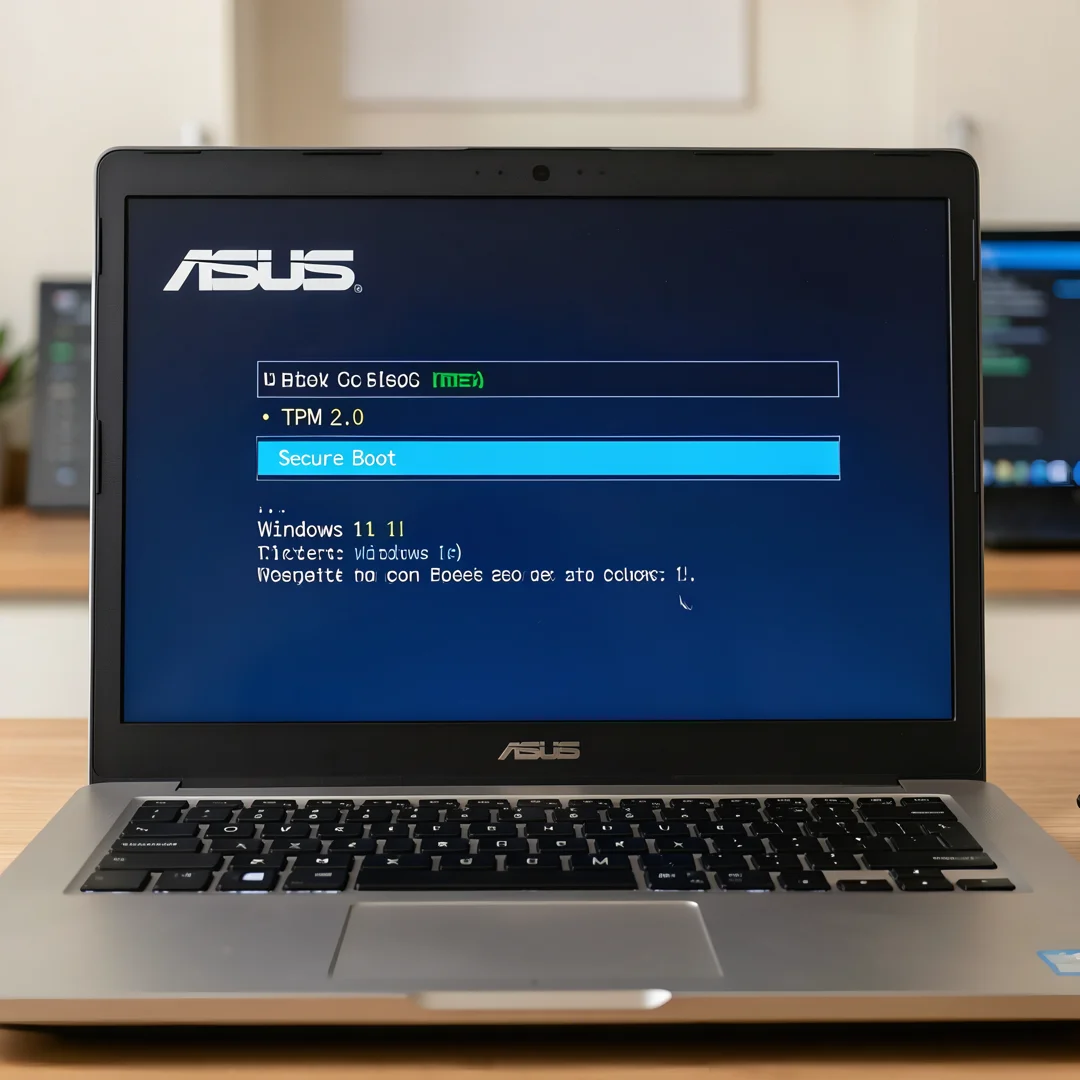
Confirm that the hardware meets Windows 11 requirements: a supported 64-bit processor, 4 GB RAM minimum (8 GB recommended), 64 GB storage, UEFI firmware with Secure Boot capable, and TPM 2.0. On ASUS Ryzen laptops, TPM is usually provided as “fTPM” in the BIOS. Check the CPU architecture carefully—Ryzen mobile chips are x64, while some newer ARM-based devices are ARM64. Always verify software compatibility with your hardware architecture (ARM64 vs x86) so you download the correct Windows image and drivers. You can check current specs by running msinfo32 or systeminfo in Command Prompt.
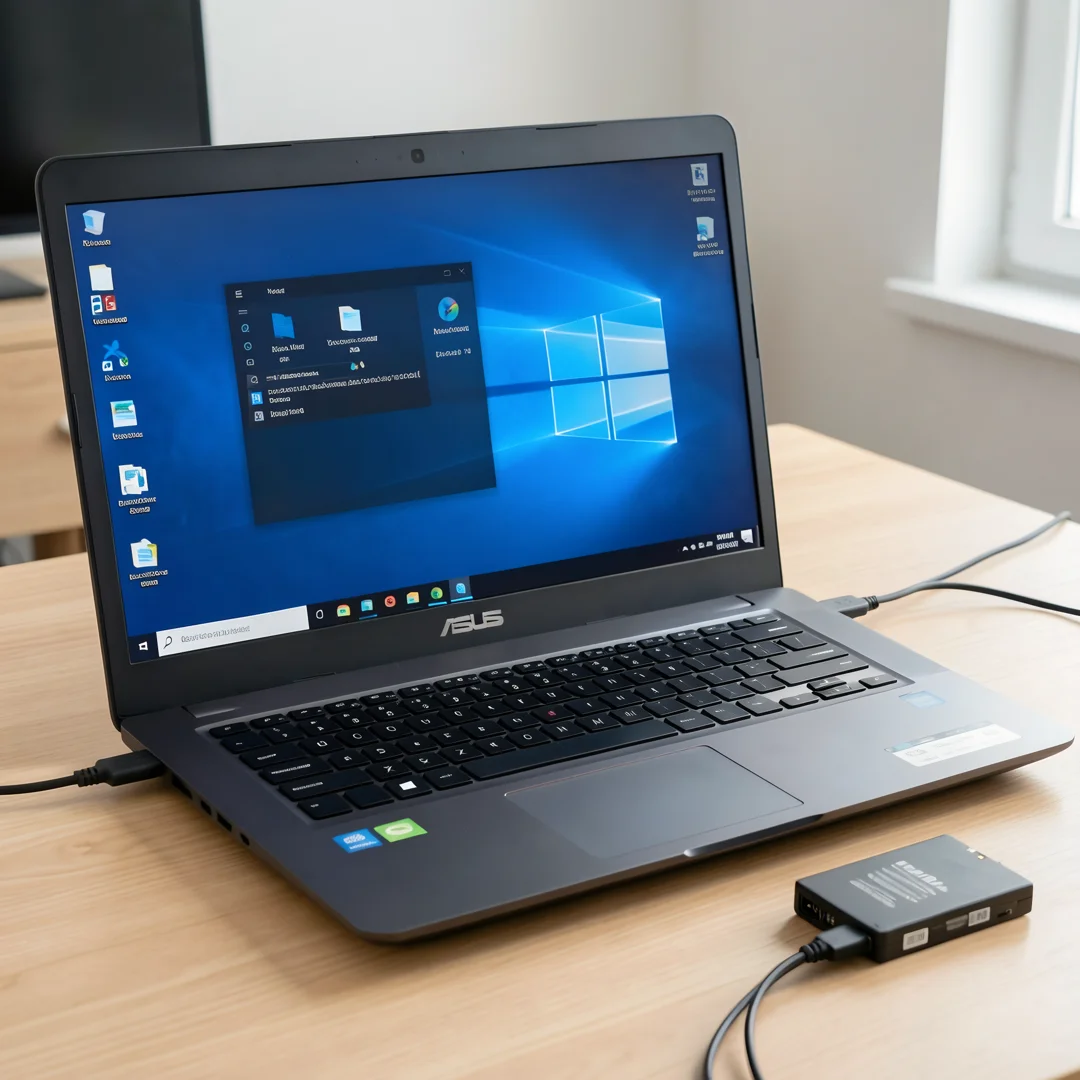
Step 2: Back up your files and note recovery information
Copy personal documents, photos, and browser profiles to an external drive or cloud storage. Export browser bookmarks, note Wi-Fi passwords, and record your Microsoft account credentials and BitLocker recovery key. If BitLocker is enabled, suspend protection before major changes to avoid recovery prompts. For IT administrators, ensure you have the device’s asset tag, warranty information, and any domain or Intune enrollment details recorded.
Step 3: Create Windows 11 installation media on a USB drive
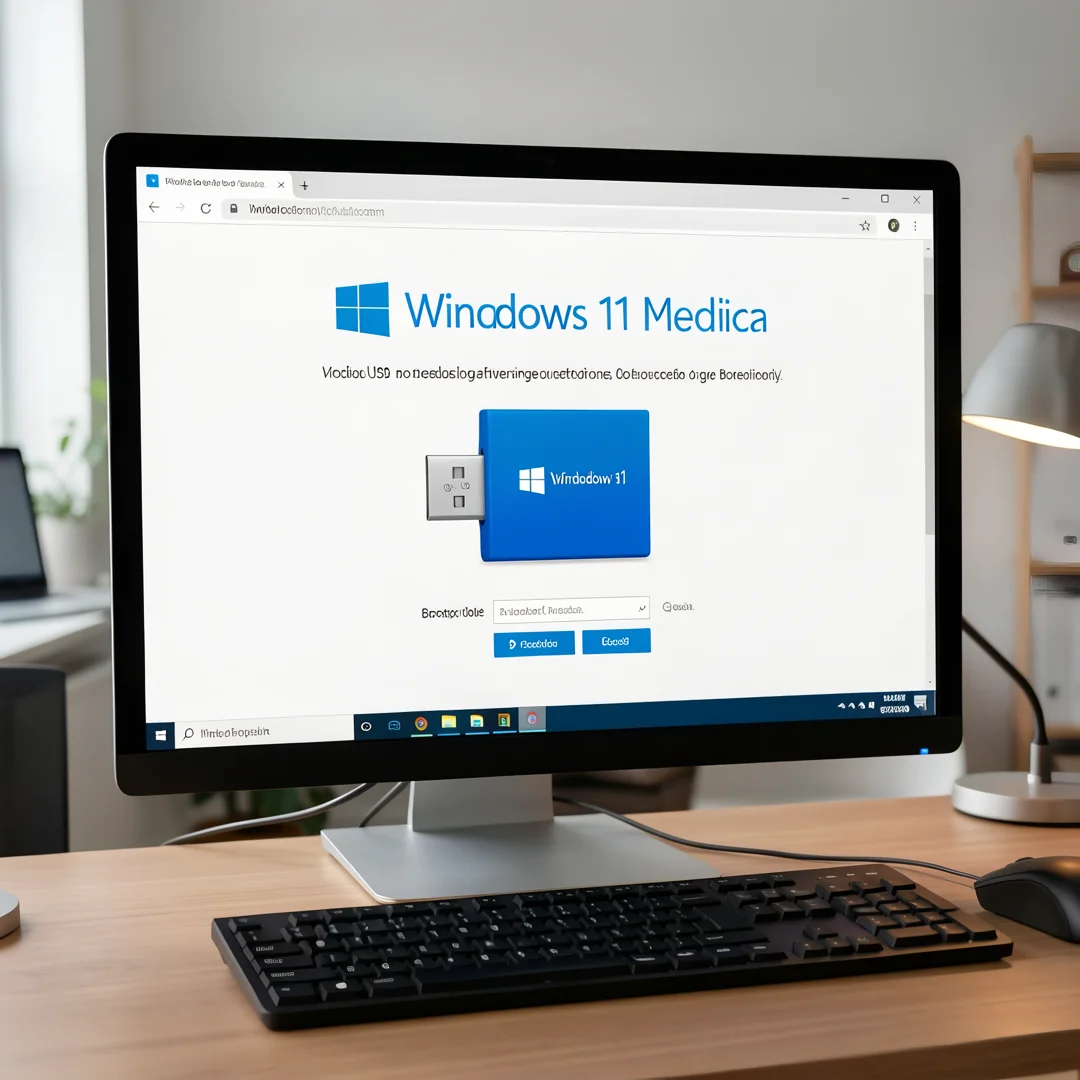
Download the Windows 11 Media Creation Tool from Microsoft’s official website. Insert an 8 GB or larger USB drive (all data will be erased), run the tool, and select “Create installation media for another PC.” Choose the correct language, edition, and architecture. Wait for the tool to finish writing and verifying the files. On ARM64 devices, use the ARM64 image rather than the standard x64 build to avoid boot and driver problems. Keeping your operating system updated before installation prevents dependency conflicts later once the new install is running.
Step 4: Configure ASUS BIOS for Windows 11 installation
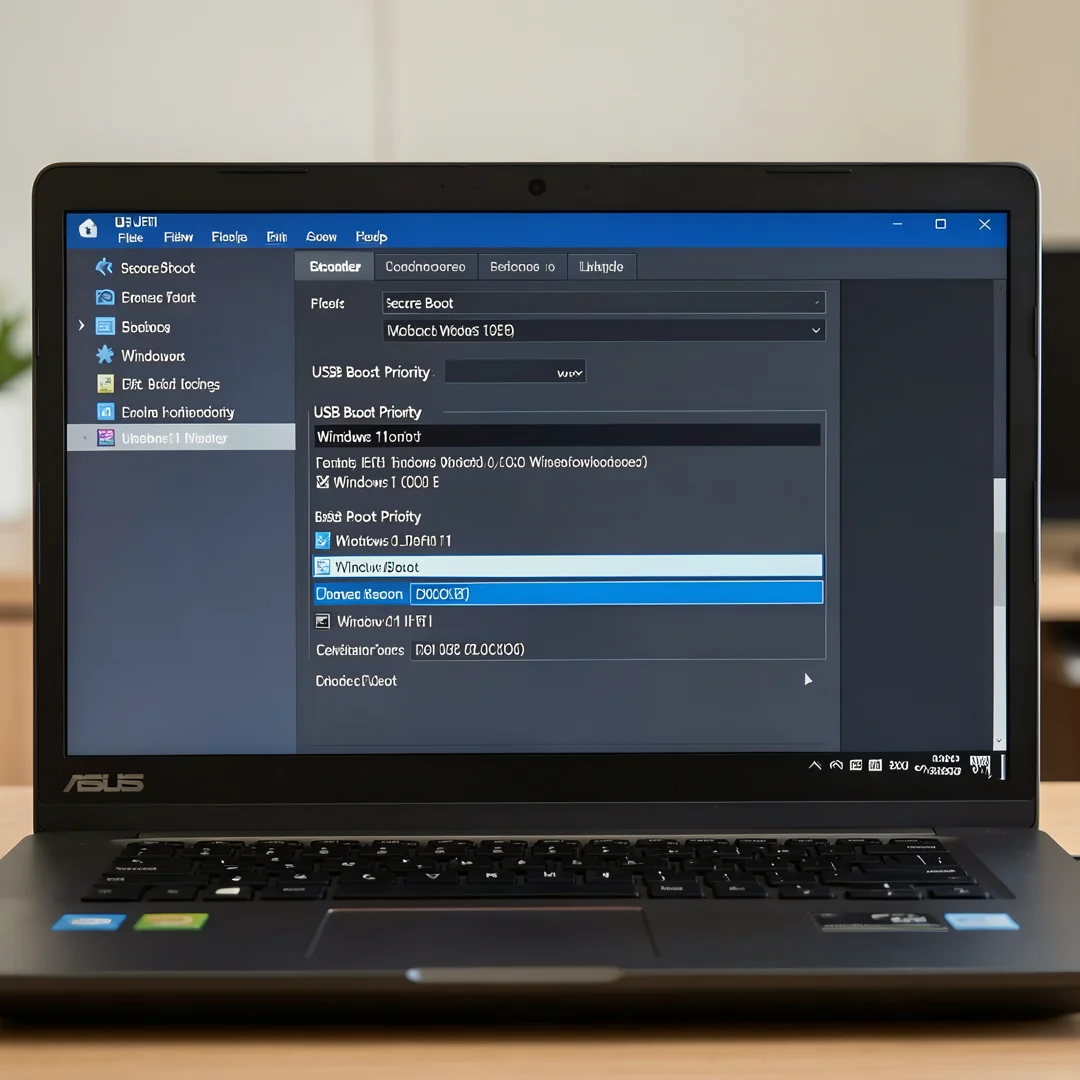
Restart the laptop and press F2 (or Del on some models) repeatedly to enter BIOS. Disable Fast Boot if you have trouble booting from USB. Enable fTPM/PTT and Secure Boot. Set the boot order so the USB drive is first, or use the one-time boot menu (Esc or F8 on ASUS). Save changes and exit. If you are reinstalling rather than clean-installing, take this moment to note your current partition layout so you can reproduce it if needed.
Step 5: Start the Windows 11 setup and partition the drive
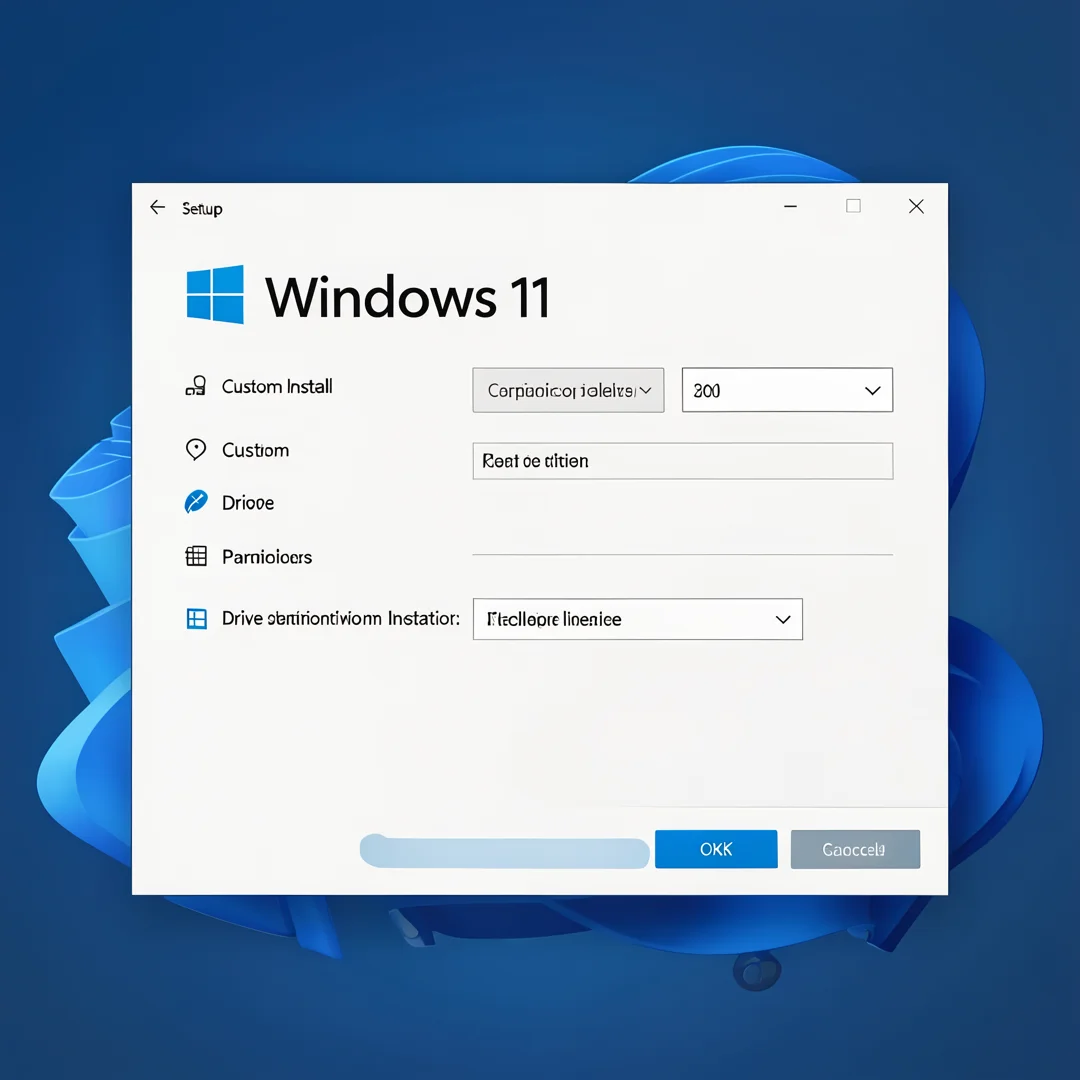
Boot from the USB drive. When the setup screen appears, choose your language and click “Install now.” Enter your product key or select “I don’t have a product key” if Windows was previously activated digitally. Choose “Custom: Install Windows only (advanced).” Delete the existing partitions if you want a truly clean install, then select the unallocated space and click Next. Windows will create the required partitions automatically. The installation will restart several times; leave the USB drive inserted until the setup completes.
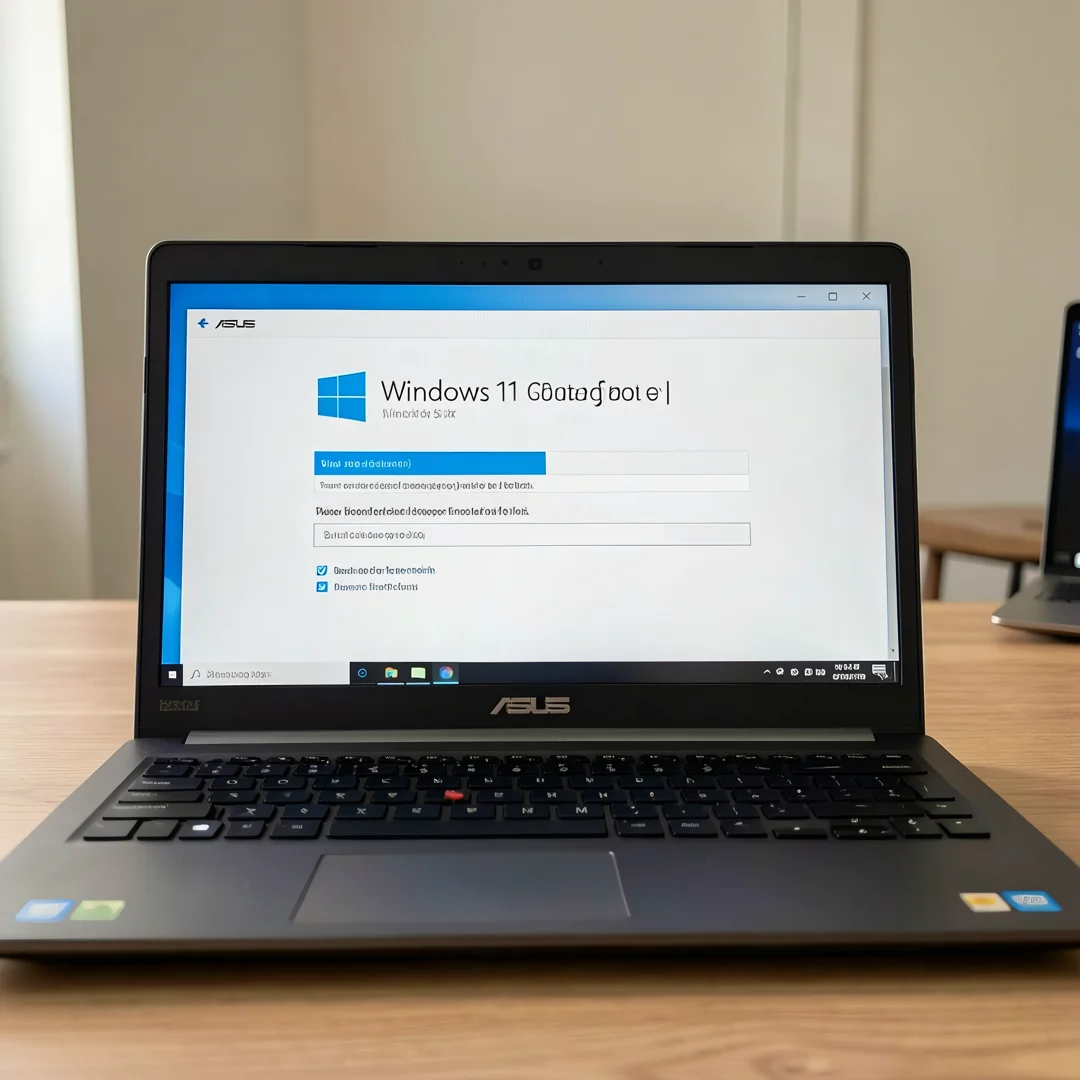
Step 6: Complete initial Windows 11 configuration
After installation, select your region and keyboard layout, connect to a network, and sign in with your Microsoft account or create a local account. Windows will apply updates and download drivers. Install the ASUS-recommended chipset, graphics, audio, and network drivers from the manufacturer’s support page or via MyASUS. Reinstall your essential applications one at a time, and immediately note what you installed. This disciplined approach means that when you later need to uninstall something completely, you know precisely what changed and can reverse it cleanly.
Post-Installation
After installing or removing software, verification matters as much as the action itself. Use these checks to confirm that a program is truly gone.
- Recheck Installed apps: Confirm the program no longer appears in Settings > Apps > Installed apps and in Control Panel > Programs and Features.
- Inspect Program Files and ProgramData: Look in C:\Program Files, C:\Program Files (x86), and C:\ProgramData for leftover folders. Delete only folders you are certain belong to the removed app.
- Check AppData: User-specific data often remains in %AppData% and %LocalAppData%. Remove these folders if you no longer need the app’s settings.
- Review services and scheduled tasks: Open Services (services.msc) and Task Scheduler to find orphaned entries. Admins can script checks with Get-Service and Get-ScheduledTask.
- Scan the registry carefully: Search for the vendor name under HKEY_LOCAL_MACHINE\SOFTWARE and HKEY_CURRENT_USER\SOFTWARE. Always export a backup before deleting keys.
- Run a disk cleanup: Use Disk Cleanup or Storage Sense to reclaim space, and empty the Recycle Bin.
- Verify other software still works: Launch related applications to confirm you did not remove a shared dependency.
- Restart and monitor: Reboot the machine and watch for error messages or missing-service alerts during startup.
For administrators, standardize this checklist as a script or a documented runbook. Consistent post-removal verification is what separates ad hoc cleanup from reliable endpoint management.
Troubleshooting
Even a careful uninstall can fail. Here are the most common problems and how to resolve them.
You now have a complete workflow for How to Uninstall Programs Completely From Windows 10 and Windows 11. Keep your system updated, monitor resource usage, and revisit this guide when software versions change.
Next steps: harden your server firewall, set up automated backups, and explore related tutorials linked above.