
Few things are as frustrating as seeing that familiar “Connected, no internet” message when you’re in the middle of important work. Whether you’re a home user streaming your favorite show or an IT administrator managing a fleet of Windows machines, a Wi-Fi connection without internet access can bring everything to a halt. The good news is that this issue is usually fixable — often in just a few minutes.
In this guide, we’ll walk you through proven solutions for when you’re Wi-Fi connected but no internet on Windows 10 and 11. From quick resets to advanced command-line fixes, you’ll find step-by-step instructions tailored for both beginners and IT professionals. Let’s get you back online.
Introduction
Few things are more frustrating than seeing the Wi-Fi icon show full bars while your browser refuses to load a single page. The network says “Connected, secured,” but every website times out. This frustrating condition, often called “Wi-Fi connected but no internet,” affects Windows 10 and Windows 11 users alike, from home users with a single laptop to IT administrators managing hundreds of endpoints. The good news is that the causes are well understood, and the fixes follow a predictable pattern. This guide covers how to fix Wi-Fi connected but no internet on Windows 10 and 11 in practical, step-by-step detail. You will learn to diagnose the fault layer by layer, from the physical router to the TCP/IP stack on the PC, and you will apply the correct tool at the right moment.
Whether you are a beginner who just wants Netflix back or an administrator rolling out a standardized repair process, the sequence matters. Randomly disabling adapters and flushing caches can make things worse. Instead, you should isolate whether the problem sits in DNS, the default gateway, the DHCP lease, the driver, or the broader internet path. By the end of this article, you will be able to resolve the majority of “no internet” symptoms in under fifteen minutes and document the escalation path when the fault is upstream of your machine.
Prerequisites
Before you start changing settings, confirm that you have the right access and information. These prerequisites apply to both Windows 10 and Windows 11, though the menu names differ slightly in places.
- Administrative rights: Most network reset commands require an elevated Command Prompt or PowerShell window. Log in with an account that is a member of the local Administrators group.
- A second working internet source: A phone with a mobile hotspot or a USB tether is invaluable. You may need it to download drivers or updates while the main link is broken.
- Router access: Know how to log in to your router’s admin page (usually 192.168.0.1 or 192.168.1.1) to check WAN status and reboot the device.
- Network details: Have the Wi-Fi password available, plus any static IP, DNS, or proxy settings your organization uses.
- Windows version: Confirm whether you run Windows 10 (any build) or Windows 11, and whether the system is 64-bit ARM64 or x86/x64. This matters because some Wi-Fi drivers are published only for specific architectures.
Always verify software compatibility with your hardware architecture (ARM64 vs x86). A driver or utility intended for x64 will not install on an ARM64 Surface device, and forcing it can leave you without a working adapter. For IT administrators, keep an inventory of adapter models and their supported drivers so you can push the correct package through your management tool.
Preparation
Preparation prevents dependency conflicts and reduces the chance that a simple fix turns into a multi-hour rebuild. Work through the following before touching the network stack.
- Update Windows first: Keeping your operating system updated before installation prevents dependency conflicts. Run Windows Update and install all pending quality and driver updates, then reboot.
- Note current settings: Record your IP configuration with
ipconfig /allso you can restore static addresses or custom DNS servers if needed. - Create a restore point: On Windows 10 and 11, search for “Create a restore point” and make one. Network resets are reversible but a restore point adds safety.
- Download fresh drivers: Visit the PC or motherboard manufacturer’s support page and download the latest Wi-Fi driver for your exact model. Save it to a local folder, not a network share that may be unreachable.
- Document the topology: For administrators, identify whether the device sits behind a proxy, VPN, or captive portal. These change the troubleshooting path significantly.
With preparation done, you have a baseline, a rollback plan, and the correct drivers on hand. That combination resolves a surprising number of cases before you even run a single command.
Installation Steps
The following six steps form the core repair procedure. Follow them in order. Each step is designed to be safe to run multiple times and to leave the system in a clean state.
Step 1: Review prerequisites and compatibility
Start by confirming that your Windows build and hardware architecture match the tools and drivers you plan to use. Open Settings, go to System, then About, and note the System type (for example, “64-bit operating system, x64-based processor” or “ARM64-based processor”). Check that any driver you downloaded is published for that architecture. If your organization standardizes on a particular Wi-Fi chipset, verify the firmware version against the vendor’s release notes. This step prevents installing an incompatible driver that would silently break the adapter and create an even harder-to-diagnose fault.
Step 2: Prepare the environment
Run Windows Update one more time and install anything pending. Keeping your operating system updated before installation prevents dependency conflicts with newer driver packages and networking components. Next, disconnect any VPN clients and third-party firewall or antivirus tools that hook into the network stack, since these frequently block traffic even when the link is up. If you use a metered connection, disable that temporarily so updates can complete. Finally, open an elevated Command Prompt by right-clicking the Start button and choosing Terminal (Admin) or Command Prompt (Admin).
Step 3: Configure core settings
Now inspect and adjust the fundamental TCP/IP settings. In the elevated prompt, run these commands one at a time and note the output:
ipconfig /all— check that you have a valid IPv4 address, subnet mask, default gateway, and DNS servers. A 169.254.x.x address means DHCP failed.ping 127.0.0.1— verifies the local stack is alive.ping 8.8.8.8— tests raw internet reachability by IP.ping google.com— tests name resolution. If the IP ping works but this fails, DNS is the culprit.
If DNS is the problem, set a reliable resolver. In Settings, go to Network & internet, then Wi-Fi, then Hardware properties, and edit the DNS server assignment to manual. Use 1.1.1.1 and 8.8.8.8 as primary and secondary. Also confirm that the IP assignment is Automatic (DHCP) unless your network requires a static address.
Step 4: Run the main installation procedure
This is the repair phase. Run the following commands in the elevated prompt, rebooting if instructed:
netsh winsock reset— rebuilds the Winsock catalog, fixing corruption from misbehaving software.netsh int ip reset— resets the TCP/IP stack to defaults.ipconfig /releasefollowed byipconfig /renew— forces a fresh DHCP lease.ipconfig /flushdns— clears stale DNS entries.netsh int ip reset— run again if the stack was heavily modified.
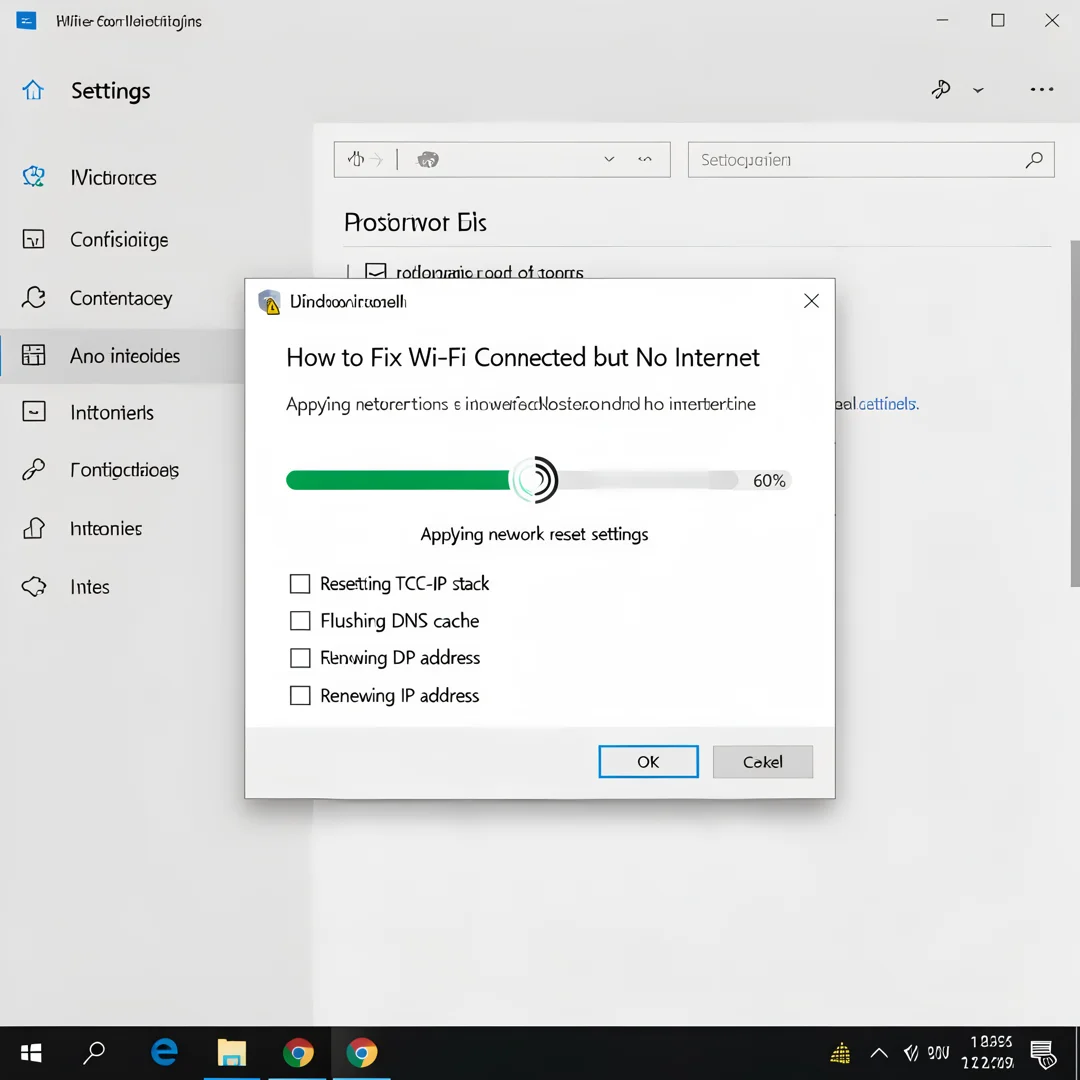
After the commands complete, reboot the PC. If the problem persists, reinstall the Wi-Fi driver you downloaded earlier. Open Device Manager, expand Network adapters, right-click your Wi-Fi adapter, and choose Uninstall device. Tick “Delete the driver software for this device” if offered, then reboot and install the fresh driver. As a final measure, use Settings, Network & internet, Advanced network settings, Network reset, which removes and reinstalls all network adapters.
Step 5: Verify the installation
Verification confirms the fix holds under real conditions. Reconnect to Wi-Fi and run ipconfig /all again to confirm a proper address and gateway. Ping 8.8.8.8 and google.com in sequence. Open at least three different websites, including one that uses HTTPS and one that streams media, to rule out cached or partial connectivity. Check the Network & internet status page; it should read “You’re connected to the internet.” For administrators, run a quick speed and latency test and compare against baseline. If all tests pass, the repair is complete. If they fail, move to the troubleshooting section rather than repeating the reset commands indefinitely.
Step 6: Configure post-install options
Now that connectivity is restored, lock in a stable configuration. Re-enable any VPN or security software you disabled, but do so one at a time so you can identify a culprit if the problem returns. Set your DNS servers to a reliable provider if you changed them. Review the Wi-Fi adapter’s power management settings in Device Manager and clear “Allow the computer to turn off this device to save power” to prevent random disconnects. For managed fleets, export the working configuration and apply it through Group Policy or your endpoint management tool. Schedule regular driver and firmware checks so the same fault does not recur after the next update.
Post-Installation
After a successful repair, a small amount of housekeeping keeps the connection reliable. First, document what fixed the issue. If a Winsock reset solved it, note that in your ticket so the next technician does not repeat every step. Second, verify that Windows Update and your antivirus definitions are current, because outdated components are a common root cause. Third, review router logs if you have access; repeated WAN drops suggest an ISP or modem problem rather than a PC fault.
For IT administrators, consider the following ongoing practices:
- Standardize DNS settings across the fleet to reduce resolution failures.
- Maintain a driver repository with architecture-specific packages (ARM64 and x86 kept separate).
- Monitor for the 169.254.x.x APIPA address as an early warning of DHCP failure.
- Educate users to reboot the router before calling support, since a large share of “no internet” cases are fixed at the router.
Finally, confirm that any changes to proxy settings, VPN profiles, or captive portal logins still work. These are frequently overlooked after a network reset and can make a repaired connection appear broken again.
Troubleshooting
If the standard procedure did not restore internet access, work through the following checks. Remember to change one variable at a time so you know what actually fixed the problem.
- Router and modem: Power-cycle both, waiting thirty seconds. Check the WAN light. If the router shows no internet, the fault is upstream, not in Windows.
Other devices: Test a phone or tablet on the same Wi-Fi. If they also fail, the problem is the network,.
You now have a complete workflow for How to Fix Wi-Fi Connected but No Internet on Windows 10 and 11. Keep your system updated, monitor resource usage, and revisit this guide when software versions change.
Next steps: harden your server firewall, set up automated backups, and explore related tutorials linked above.