
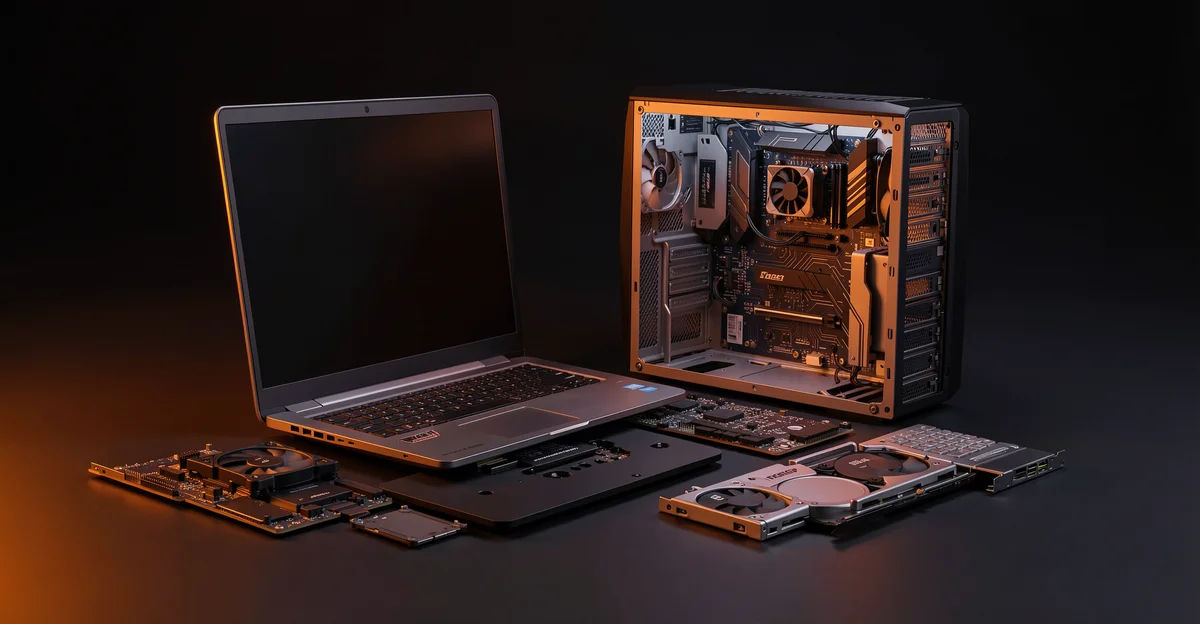
A laptop or PC that won’t turn on can ruin your entire day, whether you’re a home user rushing to finish a project or an IT administrator managing a fleet of machines. Before you panic or assume the worst, know that many no-power issues have simple, fixable causes.
This guide walks you through how to fix a laptop or PC that won’t turn on, covering everything from basic power checks to deeper hardware diagnostics. Whether you’re troubleshooting a single device or supporting an entire office, these practical steps will help you diagnose the problem quickly and get systems running again.
Introduction
A computer that will not power on is one of the most frustrating problems any user can face, whether you are a home user with a single laptop or an IT administrator responsible for a fleet of desktops. The good news is that the majority of no-power and no-boot situations have simple, testable causes. This guide covers How to Fix a Laptop or PC That Won’t Turn On in practical, step-by-step detail, walking you through power checks, hardware isolation, firmware recovery, and operating system repair.
It is important to distinguish between two different failure modes. A “no power” system shows no lights, no fan spin, and no display at all. A “no boot” system receives power — the keyboard backlight or power LED comes on — but never reaches the operating system. The troubleshooting path differs for each, and confusing the two wastes time. Throughout this article, we treat both cases, starting from the simplest checks and progressing toward more advanced recovery techniques.
For beginners, the emphasis is on safe, reversible actions: reseating cables, testing the charger, and using built-in recovery tools. For IT administrators, we include firmware-level recovery, boot media creation, and imaging considerations. As with any technical repair, always verify software compatibility with your hardware architecture (ARM64 vs x86) before downloading recovery images or operating system installers. Downloading an x86 ISO for an ARM64 device, or vice versa, is a common and avoidable mistake.
Prerequisites
Before you begin, gather the following items and confirm the conditions below. Skipping this stage often leads to wasted effort or, worse, damage to components.
- The laptop or PC, its original power adapter or a known-good replacement, and a working wall outlet.
- A second computer with internet access, used to download firmware updates, recovery images, or diagnostic tools.
- A USB flash drive with at least 8 GB capacity (16 GB or larger is recommended for modern Windows and Linux images).
- Basic tools: a small Phillips screwdriver, an anti-static wrist strap or grounding mat, and a flashlight.
- Knowledge of your exact model number, which you can find on the bottom label of a laptop or the motherboard box of a desktop.
- Awareness of your CPU architecture. ARM64 devices (many thin-and-light laptops and tablets) require different recovery media than x86-64 systems. Always verify software compatibility with your hardware architecture (ARM64 vs x86).
- Administrator access to another working machine, in case you need to create bootable media or download drivers.
Prior Linux experience is not required for the hardware-level steps in this guide. Even the software recovery sections use graphical tools wherever possible, with command-line alternatives noted for administrators.
Preparation
Preparation is where most successful repairs are won. Follow these steps before touching any internal component.
- Back up your data if the machine has ever booted recently. If the drive is removable and the system is completely dead, consider connecting the drive to another computer via a USB-to-SATA or USB-to-NVMe adapter to recover files first.
- Disconnect all peripherals: printers, external drives, docking stations, and USB hubs. A faulty peripheral can prevent POST (power-on self-test) on some systems.
- Drain residual power. Unplug the charger, remove the battery if it is user-removable, then hold the power button for 30 seconds. On sealed laptops, skip battery removal but still perform the 30-second press.
- Inspect for physical damage: a frayed charger cable, a swollen battery, burn marks near the DC jack, or liquid residue on the keyboard.
- Update your operating system on any machine you will use to create recovery media. Keeping your operating system updated before installation prevents dependency conflicts, especially when building Linux-based rescue drives that rely on current packages.
IT administrators should also check warranty status and support agreements before opening a chassis. On enterprise models, opening the case may void onsite service coverage. Document the asset tag and serial number in your ticketing system at this stage.
Installation Steps
The following six steps form the core procedure. Work through them in order and stop as soon as the machine powers on and boots correctly.
Step 1: Review prerequisites and compatibility
Confirm that the charger voltage and connector match your model. A 65 W adapter will not reliably charge a workstation laptop that expects 130 W, and some Dell and Lenovo systems refuse to boot on underpowered adapters. Check the label on the bottom of the laptop or the power supply sticker on a desktop.
If you plan to reinstall or repair the operating system, verify that your recovery image matches the CPU architecture. Windows on ARM devices, for example, will not accept an x64 installation ISO. Linux distributions publish separate ARM64 and x86-64 images, and choosing the wrong one produces an unbootable USB. Always verify software compatibility with your hardware architecture (ARM64 vs x86).
Finally, note whether the machine uses UEFI or legacy BIOS. This affects how you create bootable media and which key opens the boot menu — commonly F2, F10, F12, Del, or Esc.
Step 2: Prepare the environment
Set up a clean, well-lit, static-safe workspace. If you will open the chassis, wear an anti-static strap connected to bare metal on the frame. Remove jewelry and avoid working on carpet.
On the second computer, download the tools you may need:
- The latest BIOS or UEFI firmware for your exact model.
- A diagnostic utility from the manufacturer (Lenovo Diagnostics, Dell SupportAssist, HP PC Hardware Diagnostics).
- A bootable rescue image such as a Linux live USB, Windows installation media, or the manufacturer’s recovery tool.
- Current chipset and storage drivers, saved to the USB drive.
Keep your operating system updated before installation of any recovery tooling, because outdated download clients and missing runtime libraries are a frequent source of dependency conflicts. Label your USB drives so you do not confuse a rescue disk with a data drive.
Step 3: Configure core settings
Before running recovery software, configure the firmware correctly. Enter the BIOS/UEFI setup using the manufacturer’s key and check the following:
- Confirm the primary boot device order lists your internal drive first, followed by USB.
- Set the storage controller mode consistently. If Windows was installed in AHCI mode, switching to RAID or Intel RST after the fact will produce a “no boot device” error. Use the mode that matches your original installation.
- Disable Secure Boot temporarily only if you are booting unsigned diagnostic media. Re-enable it afterward.
- Enable or disable Fast Boot as needed; Fast Boot can skip USB detection on some boards.
- Save and exit, then observe whether the system POSTs. If it does not, return to hardware checks.
For administrators deploying images, capture these firmware settings in your build documentation so that every unit in a batch is configured identically.
Step 4: Run the main installation procedure
With the environment ready, begin the actual repair sequence. If you are at the hardware stage, reseat components one at a time, testing power after each change:
- Reseat the RAM modules. On desktops, try a single stick in the primary slot. A failed RAM stick is a leading cause of no-POST systems.
- Reseat the storage drive and its data/power cables. On M.2 drives, remove and reinsert at the correct angle.
- Check the 24-pin and 4/8-pin CPU power connectors on desktops. A partially seated connector causes intermittent no-power behavior.
- On laptops, reseat the battery connector and the display ribbon cable.
- Test with a known-good power supply if one is available.
If the machine powers on but will not boot, run the recovery media you created. Boot from the USB drive, launch the diagnostic tool, and let it test memory, storage, and the motherboard. If diagnostics pass, proceed to operating system repair: use Windows Startup Repair, the Linux live environment’s filesystem check (fsck), or the manufacturer’s recovery partition. When reinstalling, ensure the installer matches your verified architecture — again, verify software compatibility with your hardware architecture (ARM64 vs x86) before committing to a reinstall.
Step 5: Verify the installation
Verification ensures the fix is stable, not just momentary. Complete these checks:
- Power the machine off and on three times, including one cold boot after a full shutdown rather than a restart.
- Confirm the operating system reaches the login screen without errors and that all drives appear in File Explorer or the Linux file manager.
- Run the manufacturer diagnostic suite once more from within the operating system.
- Check Device Manager or
lspci/lsusbfor devices with warning icons or missing drivers. - Monitor temperatures for ten minutes under light load; unexpected shutdowns often trace back to thermal issues.
Document the resolution in your notes or ticketing system. Recording which step fixed the issue speeds up the next occurrence and helps spot patterns, such as a batch of laptops with failing chargers.
Step 6: Configure post-install options
Finish by restoring the machine to a secure, fully functional state:
- Re-enable Secure Boot if you disabled it, and restore the original boot order.
- Install pending firmware and driver updates. Keeping your operating system updated before installation of new hardware or software prevents dependency conflicts.
- Reconnect peripherals one at a time, testing after each, to identify any device that contributed to the failure.
- Run a full backup or re-enable your backup schedule so the repaired data is protected.
- For fleets, return the unit to inventory and update the asset record with the repair details.
Post-Installation
After the system is running, focus on stability and prevention. Register the device for warranty service if the repair revealed an intermittent hardware fault that may recur. Create a rescue USB for each architecture you support and store it with your toolkit; an ARM64 recovery drive is useless on an x86 laptop and vice versa.
Schedule regular backups, and enable automatic operating system and firmware updates. Many no-power incidents trace back to neglected firmware or failing power hardware, both of which are easier to manage proactively than to repair under pressure. IT administrators should maintain a small stock of known-good power adapters, RAM sticks, and USB drives to speed.
You now have a complete workflow for How to Fix a Laptop or PC That Won’t Turn On. Keep your system updated, monitor resource usage, and revisit this guide when software versions change.
Next steps: harden your server firewall, set up automated backups, and explore related tutorials linked above.