
Whether you’re reinstalling Windows on a personal laptop or deploying systems across an entire organization, a reliable installation medium is essential. Learning how to create a bootable Windows 11 USB drive step by step gives you a fast, portable, and reusable tool for clean installs, upgrades, and disaster recovery—no optical drive required.
In this guide, we’ll walk through every stage, from choosing the right USB drive and downloading the official ISO to writing the installation files and booting successfully. The instructions are beginner-friendly yet detailed enough for IT administrators managing multiple machines.
Introduction
Creating a bootable Windows 11 USB drive is one of the most useful skills you can have, whether you are a home user reinstalling Windows on a single laptop or an IT administrator deploying the operating system across dozens of machines. A bootable USB drive lets you install Windows 11 from scratch, repair a corrupted system, or upgrade hardware without relying on a DVD drive that most modern computers no longer include.
This guide covers How to Create a Bootable Windows 11 USB Drive Step by Step in practical, step-by-step detail. You will learn which tools to use, how to prepare your USB drive, how to run the installation correctly, and how to verify that everything works. The process itself is not complicated, but small mistakes — the wrong file system, a corrupted ISO, or an incompatible architecture — can waste hours. By following the steps below, beginners can finish the task confidently, and IT administrators can adapt the same workflow for mass deployment.
One important note before you begin: always verify software compatibility with your hardware architecture (ARM64 vs x86). Windows 11 exists in both ARM64 and x86-64 builds, and a USB drive created for one architecture will not boot or install properly on the other. Additionally, keeping your operating system updated before installation prevents dependency conflicts, especially if you are using tools that rely on system libraries or drivers to write the USB drive correctly.
Prerequisites
Before you start, gather everything you need. Missing a single item — like enough storage or the correct ISO — can stall the process halfway through.
- A USB flash drive with at least 8 GB of capacity. Windows 11 installation media typically requires 5–6 GB, but 8 GB gives you headroom. For some custom images with extra drivers, 16 GB is safer.
- A Windows 11 ISO file. Download it from the official Microsoft website. Do not use random third-party ISO mirrors, as they may contain tampered or corrupted files.
- A working computer running Windows 10 or Windows 11. The creation tools discussed here run on Windows. You can use Linux alternatives, but this guide focuses on the Windows-based workflow.
- Administrator rights. Writing a bootable USB modifies the drive’s partition table, so you need elevated permissions.
- An internet connection. You will need it to download the ISO and, in some cases, the media creation tool.
- A backup of any data on the USB drive. The process erases the drive completely.
Confirm your target computer’s architecture. Most desktops and laptops use x86-64 (Intel or AMD), while devices like the Surface Pro X or certain ARM-based laptops use ARM64. Windows 11 installation media is architecture-specific. Downloading the wrong build wastes time and produces a drive that will not boot on your machine.
Preparation
Preparation is where most failures are prevented. Take a few minutes to organize your files and check your system before touching any USB drive.
Choose your creation method
You have three practical options:
- Media Creation Tool (MCT): Microsoft’s official tool. It downloads Windows 11 and writes it to the USB drive in one step. Best for beginners and standard installs.
- Rufus: A lightweight third-party utility that writes an existing ISO to a USB drive. It offers more control over partition schemes (GPT/MBR) and file systems. Popular among IT administrators.
- Ventoy or similar multi-boot tools: These let you place multiple ISO files on one drive and choose which to boot. Useful for technicians who carry many images.
For most readers, the Media Creation Tool is the simplest path and is officially supported by Microsoft. If you already have an ISO and want precise control, Rufus is an excellent choice.
Verify the ISO and hardware compatibility
If you downloaded an ISO manually, check that it matches your system architecture. An x86-64 ISO will not work on an ARM64 device and vice versa. You can usually see the architecture in the file name or on the download page. Always verify software compatibility with your hardware architecture (ARM64 vs x86) before writing anything to the USB drive.
Update your current operating system
Keeping your operating system updated before installation prevents dependency conflicts. Run Windows Update and install pending updates on the computer you are using to create the USB drive. Some media creation tools depend on updated .NET components, USB drivers, or security certificates. An outdated system can cause the tool to fail or produce a USB drive that will not boot.
Clean and format the USB drive
Most creation tools format the USB drive automatically, but you should still back up its contents. If you want to format manually, open Disk Management, select the USB drive, and choose a partition scheme. For modern UEFI systems, use GPT with FAT32. For older BIOS-based systems, MBR with NTFS may be required.
Installation Steps
The following steps walk you through the complete process. The exact clicks vary slightly depending on whether you use the Media Creation Tool or Rufus, but the logic is the same.
Step 1: Review prerequisites and compatibility
Before launching any tool, double-check that you have:
- A USB drive with 8 GB or more.
- The correct Windows 11 ISO or an internet connection to download it.
- A target computer that meets Windows 11 minimum requirements (TPM 2.0, Secure Boot capable, 4 GB RAM, 64 GB storage).
- Matching architecture — ARM64 for ARM devices, x86-64 for Intel or AMD systems.
This review takes two minutes and prevents the most common error: building media for the wrong hardware. Always verify software compatibility with your hardware architecture (ARM64 vs x86) at this stage.
Step 2: Prepare the environment
Plug the USB drive into a working USB port. Avoid USB hubs, which can cause write errors or disconnections during the process. Close unnecessary programs to free up system resources. If you are using the Media Creation Tool, ensure you are logged in as an administrator. If you are using Rufus, download the latest portable version — no installation required.
Back up any files on the USB drive now. The next steps will erase everything on it.
Step 3: Configure core settings
Open your chosen tool.
If using the Media Creation Tool:
- Accept the license terms.
- Select “Create installation media for another PC.”
- Choose language, edition, and architecture. If you are unsure, leave “Use the recommended options for this PC” checked — but only if the current PC matches the target PC’s architecture.
- Select “USB flash drive” as the media type.
If using Rufus:
- Select the USB device under “Device.”
- Click “SELECT” and choose your Windows 11 ISO.
- Set “Partition scheme” to GPT for UEFI systems or MBR for legacy BIOS.
- Set “Target system” to UEFI (non-CSM) for modern machines.
- Set “File system” to FAT32 for UEFI or NTFS if your installer requires it.
- Click “START.”
For a standard Windows 11 installation, choose GPT and UEFI. This matches the requirements of most computers manufactured after 2016.
Step 4: Run the main installation procedure
This is the writing phase.
- Confirm any warnings about data loss.
- Wait while the tool downloads Windows 11 (if using MCT) or writes the ISO to the USB drive (if using Rufus).
- Do not unplug the USB drive or shut down the computer during this phase.
Depending on your internet speed and USB drive performance, this step can take 15 to 45 minutes. The tool will show a progress bar. When it finishes, you will see a confirmation message. Click “Finish” or “Close.”
Step 5: Verify the installation
Do not assume the drive is bootable just because the tool said it finished. Verify it properly:
- Eject the USB drive safely and then reinsert it.
- Open File Explorer and confirm the drive contains files like setup.exe, bootmgr, sources, and efi.
- Check that the file system matches your target system (FAT32 for UEFI, NTFS for some legacy setups).
- Optionally, test boot the USB drive on the target computer. Access the boot menu (usually F12, F10, or Esc during startup) and select the USB drive. If the Windows 11 setup screen appears, the drive is bootable.
If the drive does not appear in the boot menu, revisit Step 3 and confirm your partition scheme.
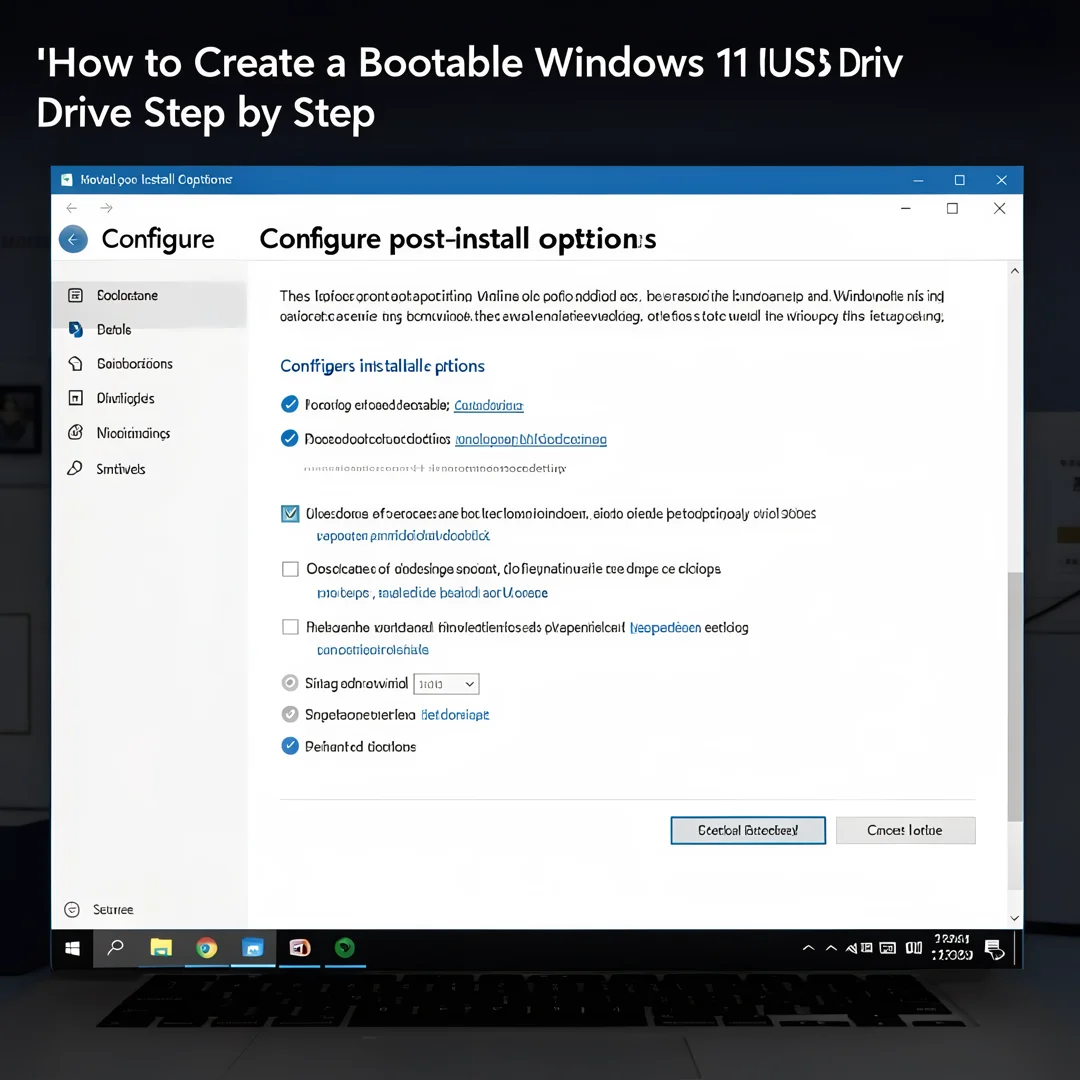
Step 6: Configure post-install options
After the USB drive is verified, you are ready to install Windows 11 on the target computer. Insert the drive, boot from it, and follow the on-screen prompts. During setup, choose “Custom” installation to format the target drive and perform a clean install. If you are an IT administrator, you can automate this step using an answer file (unattend.xml) placed in the root of the USB drive.
Once Windows 11 is installed, remove the USB drive and let the system restart. Keep the USB drive in a safe place — you may need it for recovery or future installations.
Post-Installation
After Windows 11 boots for the first time, complete these tasks to ensure a stable system:
- Run Windows Update. Install all available updates, including driver and firmware updates. Keeping your operating system updated before installation prevents dependency conflicts, and the same principle applies after installation.
- Install chipset and GPU drivers. Download them from your motherboard or laptop manufacturer’s website. Windows Update covers many drivers, but vendor-specific drivers often perform better.
- Activate Windows. If you have a digital license linked to your Microsoft account, activation is automatic. Otherwise, enter your product key.
- Configure security settings. Confirm that Secure Boot, TPM, and Windows Defender are enabled and working.
- Create a restore point. This gives you a rollback option if a future update causes problems.
For IT administrators deploying multiple machines, create a master image after this step and use it for cloning. This saves time and ensures consistency across devices.
Troubleshooting
Even with careful preparation, issues can occur. Here are the most common problems and how to solve them.
The USB drive does not appear in the boot menu
This usually means the partition scheme is wrong. Recreate the drive using GPT for UEFI systems or.
You now have a complete workflow for How to Create a Bootable Windows 11 USB Drive Step by Step. Keep your system updated, monitor resource usage, and revisit this guide when software versions change.
Next steps: harden your server firewall, set up automated backups, and explore related tutorials linked above.