
A Blue Screen of Death (BSOD) error in Windows 11 can stop you in your tracks, whether you are a home user or an IT administrator managing hundreds of machines. That sudden blue screen, cryptic stop code, and forced restart are frustrating, but they are also clues pointing to the real problem.
Learning how to fix Blue Screen of Death errors starts with understanding what triggers them, from faulty drivers to hardware failures. In this guide, we break down proven troubleshooting steps that beginners can follow and IT pros can standardize across an organization.
Introduction
A Blue Screen of Death (BSOD), officially called a stop error, is Windows 11’s way of telling you that something has gone so wrong at the kernel level that the operating system cannot safely continue. Instead of risking data corruption, Windows halts, displays a blue screen with a stop code, and restarts. For home users this often feels like a random catastrophe. For IT administrators, a BSOD is a useful diagnostic breadcrumb that points to a failing driver, incompatible hardware, corrupted system files, or a misbehaving update.
This guide covers How to Fix Blue Screen of Death (BSOD) Errors in Windows 11 in practical, step-by-step detail. You will learn how to gather the right information, prepare a recovery environment, and work through the most common repair paths in a logical order. The approach works whether you are fixing a single laptop or standardizing a fleet of business desktops.
Before you touch anything, understand that not all BSODs are equal. Some appear once after a driver update and never return. Others repeat every few minutes and prevent you from reaching the desktop. Your first job is to classify the error. A one-time crash after a hardware change is very different from a boot loop caused by a corrupted system file. The steps below handle both, but the order you apply them depends on how severe the problem is.
If the machine can still boot, you have far more options. You can use built-in tools, read event logs, and roll back changes. If the machine cannot boot, you will need Windows Recovery Environment (WinRE) or a bootable USB. Knowing which situation you are in before you start saves hours of guesswork.
Prerequisites
Gather these items before you begin. Skipping this stage is the most common reason people get stuck halfway through a repair.
- A Windows 11 installation or recovery USB (8 GB or larger). Create it from another working PC using the Media Creation Tool.
- Administrator access to the affected machine. If you cannot log in, you will need the recovery environment instead.
- The exact BSOD stop code, such as IRQL_NOT_LESS_OR_EQUAL, PAGE_FAULT_IN_NONPAGED_AREA, or DRIVER_IRQL_NOT_LESS_OR_EQUAL.
- At least 20 GB of free disk space for system restore points, driver packages, and logs.
- Knowledge of your hardware architecture. Always verify software compatibility with your hardware architecture (ARM64 vs x86). A driver or utility built for x86 will not run on an ARM64 device such as a Surface Pro X.
- A backup of important files if the machine is still usable. BSOD troubleshooting sometimes involves rolling back drivers, and rollbacks occasionally fail.
You do not need prior Linux experience, and you do not need to reinstall Windows in most cases. The tools used here are all native to Windows 11.
Preparation
Preparation is where IT administrators separate themselves from panicked users. Do these tasks in order.
1. Capture the stop code and dump file. When the blue screen appears, photograph it or write down the stop code and any failing module name. Windows writes a memory dump to C:\Windows\Minidump by default. These files are the single most valuable clue you have.
2. Boot into Safe Mode if possible. Hold Shift while selecting Restart from the Start menu, then choose Troubleshoot, Advanced options, Startup Settings, and Restart. Press 4 or F4 for Safe Mode. Safe Mode loads only essential drivers, so if the BSOD disappears here, the fault is almost certainly a third-party driver or service.
3. Create a restore point. If you can reach the desktop, type “Create a restore point” in the Start search, open System Protection, and click Create. This gives you a one-click escape route if a repair step makes things worse.
4. Update Windows fully. Keeping your operating system updated before installation prevents dependency conflicts. Run Windows Update and install all pending cumulative and driver updates. A surprisingly large number of BSODs are fixed by a single patch.
5. Note recent changes. Ask yourself or your users what changed in the last 72 hours: new RAM, a new GPU, a driver update, a Windows update, new antivirus software, or a BIOS flash. The timing of the crash usually points directly at the cause.
6. Back up data. Copy critical files to an external drive or network share. Even if you do not expect data loss, having a backup removes the fear factor from every subsequent step.
Installation Steps
The following procedure treats BSOD repair as a structured installation-style workflow. Work through the steps in order, rebooting and retesting after each one.
Step 1: Review prerequisites and compatibility
Confirm you have the stop code, the dump file location, and a recovery USB ready. Check your hardware architecture by opening Settings, System, About, and reading the System type field. If it says ARM-based processor, you are on ARM64. If it says x64-based processor, you are on x86-64. This matters because driver packages and diagnostic utilities are architecture-specific, and installing the wrong one can trigger another BSOD. Also verify that any replacement hardware, such as RAM or an SSD, appears on the manufacturer’s qualified vendor list for your exact model.

Step 2: Prepare the environment
Disconnect unnecessary peripherals. USB hubs, external docks, printers, and third-party controllers are frequent culprits. Leave only the keyboard, mouse, and monitor connected. If the machine is a laptop, plug it into power. If you have added RAM recently, reseat the modules or remove the new stick entirely to test. Boot into Safe Mode using the Shift + Restart method described above. Once in Safe Mode, open Device Manager and look for any device with a yellow warning triangle. These flagged devices are prime suspects. Also run a quick disk check: open Command Prompt as administrator and type chkdsk C: /f /r, then press Enter and agree to schedule it for the next restart.
Step 3: Configure core settings
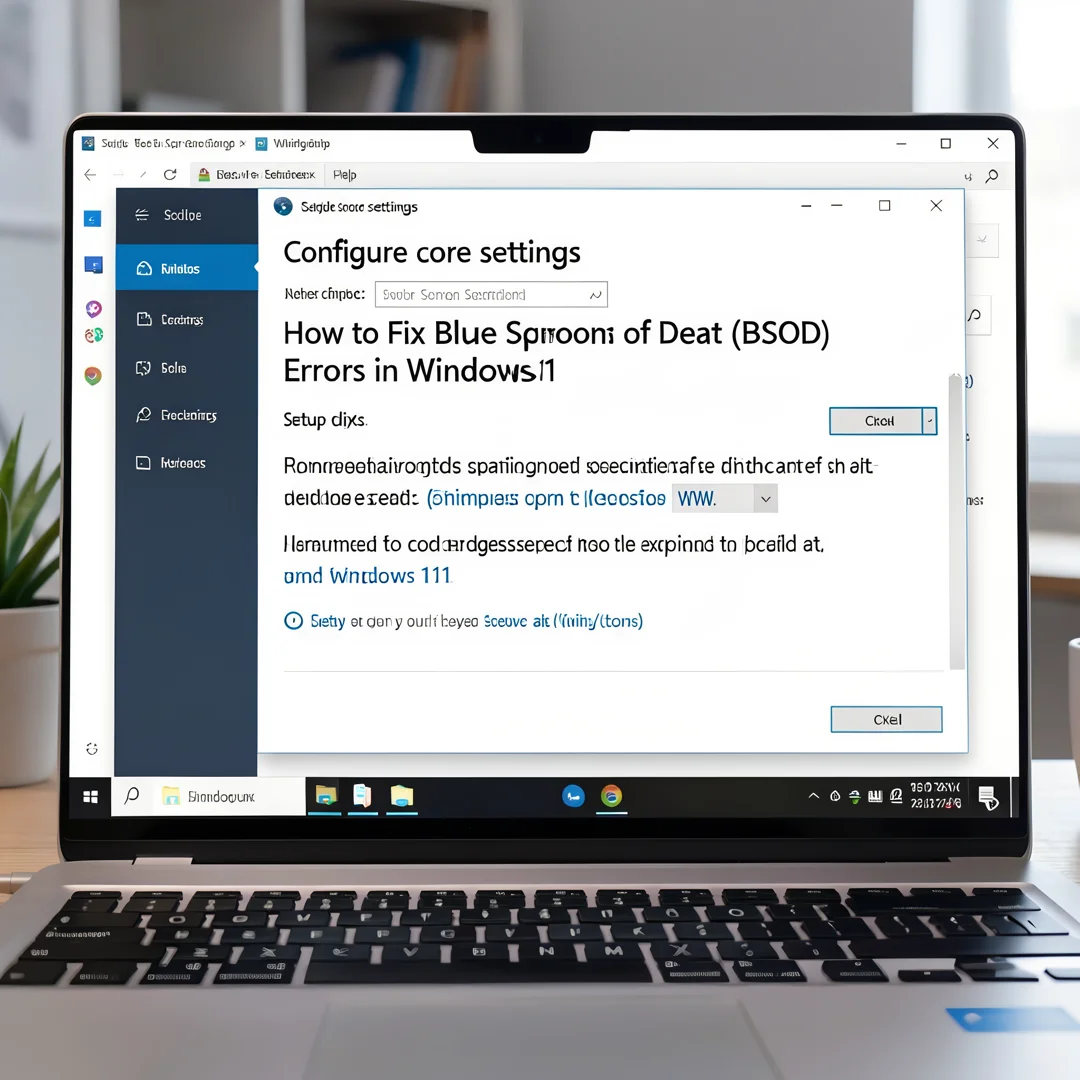
Now you configure the diagnostic and recovery settings that make the rest of the process manageable. First, ensure memory dumps are enabled. Right-click Start, open System, Advanced system settings, and under Startup and Recovery click Settings. Set “Write debugging information” to Automatic memory dump and confirm the dump path. Second, disable automatic restart on system failure so you can actually read the blue screen instead of watching the PC reboot instantly. Uncheck “Automatically restart” in the same dialog. Third, configure Windows Update to pause after the next round of patches so you can test stability before new changes land. Fourth, in Safe Mode, open Services and set any non-Microsoft services to Manual startup, then disable them temporarily. This is called a clean boot, and it isolates third-party software from the equation.
Step 4: Run the main installation procedure
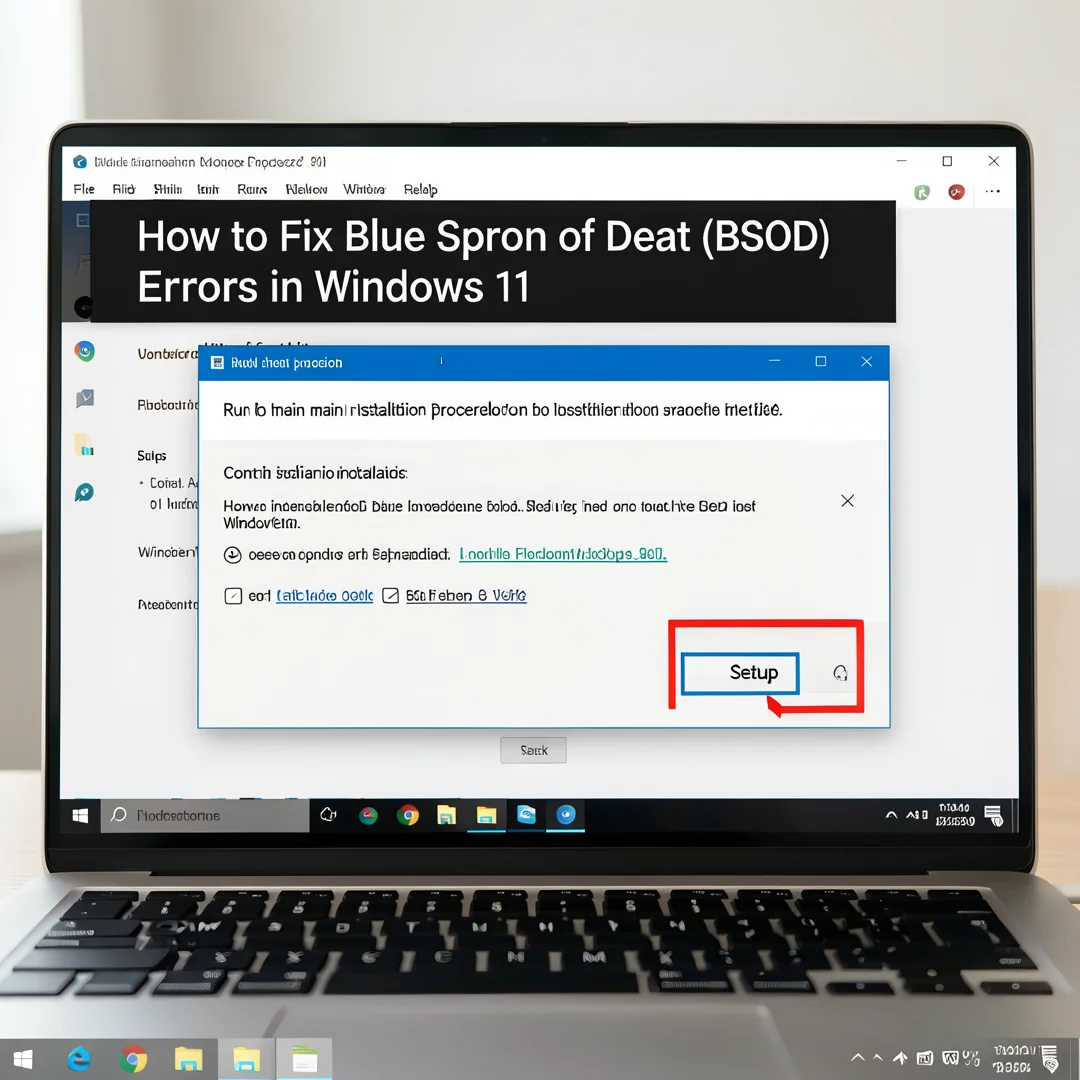
This is the core repair sequence. Apply each sub-step, restart normally, and see whether the BSOD returns before moving to the next.
- Update or roll back drivers. In Device Manager, expand Display adapters, Network adapters, and Storage controllers. Right-click each device and choose Update driver, then Search automatically. If the BSOD started right after a driver update, choose Properties, Driver, Roll Back Driver instead. Always verify software compatibility with your hardware architecture (ARM64 vs x86) before manually installing a driver from a vendor website.
- Run the System File Checker. Open Command Prompt as administrator and run sfc /scannow. Follow it with DISM /Online /Cleanup-Image /RestoreHealth. These two commands repair corrupted Windows component files, which are a leading cause of recurring stop errors.
- Test memory. Type “Windows Memory Diagnostic” in the Start search and run it, choosing to restart now. For a deeper test, use MemTest86 from a bootable USB. Faulty RAM produces a wide variety of random BSOD codes.
- Check disk health. Run chkdsk C: /f /r and review the results. For SSDs, also check the drive’s health with the manufacturer’s utility or Windows’ built-in drive status in Settings, System, Storage.
- Remove problematic software. Uninstall recently added antivirus tools, VPN clients, overclocking utilities, and RGB control software. These hook deeply into the kernel and are common BSOD triggers.
- Reset or repair Windows. If crashes persist, go to Settings, System, Recovery, and choose Reset this PC while keeping your files. As a last resort, perform a clean installation from your USB, but back up first.
Step 5: Verify the installation
Verification means proving the fix holds under real conditions, not just that the machine boots once. Restart the computer at least three times. Run the workload that originally triggered the crash, whether that was gaming, video rendering, or connecting a docking station. Open Event Viewer, expand Windows Logs, and check System for new Event ID 41 entries or BugCheck events. Leave the machine running for several hours under normal use. If no new stop errors appear, the repair has taken. For IT administrators, document the stop code, the root cause, and the fix in your ticketing system so the same machine or model does not cost you time twice.
Step 6: Configure post-install options
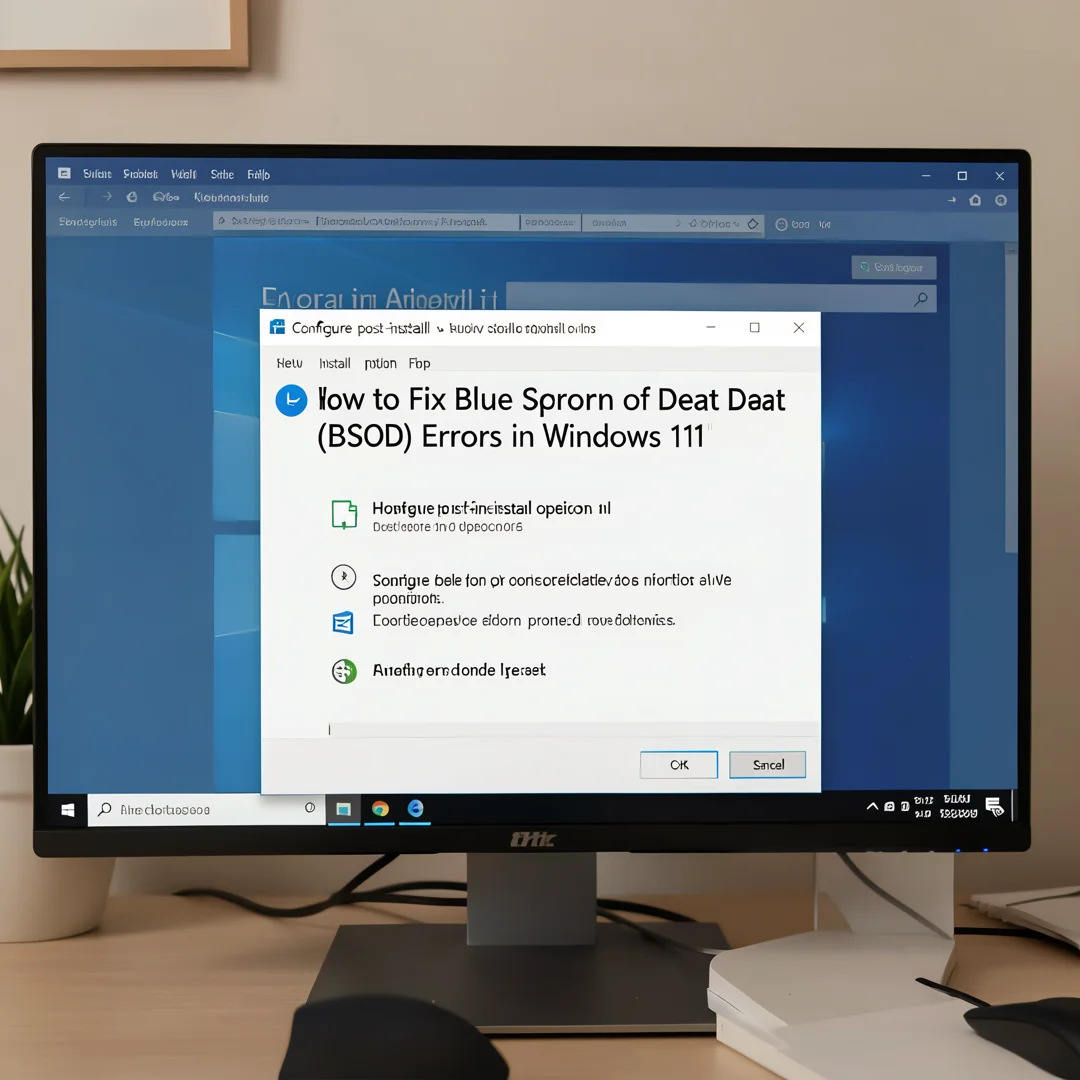
Finish by restoring the settings you changed during diagnosis and hardening the system against future crashes. Re-enable the third-party services you disabled in Step 3, but add them back in small groups so you can identify any that reintroduce instability. Turn automatic restart back on if you prefer it, or leave it off for easier future diagnosis. Reconnect peripherals one at a time. Set Windows Update to install updates automatically again, since staying current prevents many driver and security-related faults. Finally, schedule a monthly maintenance window: run sfc /scannow, check disk health, and review event logs for warning signs before they become blue screens.
Post-Installation
After a successful repair, take these follow-up actions to keep the system stable.
- Create a fresh system restore point and label it with the date and the fix applied.
- Update your recovery USB with the latest Windows 11 image so it is ready for next time.
If you replaced hardware such as RAM or a drive, run a stress test for an hour to confirm stability under.
You now have a complete workflow for How to Fix Blue Screen of Death (BSOD) Errors in Windows 11. Keep your system updated, monitor resource usage, and revisit this guide when software versions change.
Next steps: harden your server firewall, set up automated backups, and explore related tutorials linked above.